How-To's
Instructors must verify course rosters for each assigned section even when all students are attending class.
If all students are attending, follow directions below and mark "the no shows are
recorded and the roster is complete".
Note: Students in face-to-face classes are defined as "no show" if they fail to attend
all class meetings. To identify no shows in online classes, instructors should require
some online activity during the first week (7 days) of class. Completion of the activity
indicates attendance. For example, instructors might ask students to (1) introduce
themselves in an online discussion forum, (2) complete a quiz over the course syllabus,
(3) complete a diagnostic test, or (4) submit a writing sample.
Please Note: Merely logging in to an online class does NOT count as attendance.
- When it is time to report no shows, login to PeopleSoft Campus Solutions (PeopleSoft)
or MyPath (then click PeopleSoft Campus Solutions). The Homepage should display all
your tile options. Click Faculty Center. If you have taken classes with KCTCS, your
Homepage may default to the Student Homepage, if so, click the Student Homepage down
arrow and choose Campus solutions Homepage.

-
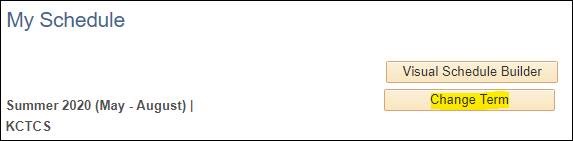
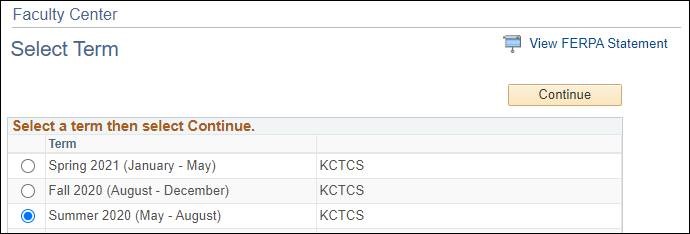
Verify that you are viewing classes from the correct term. To change the term, click the Change Term button and select the preferred Term and click Continue to view classes for that term.
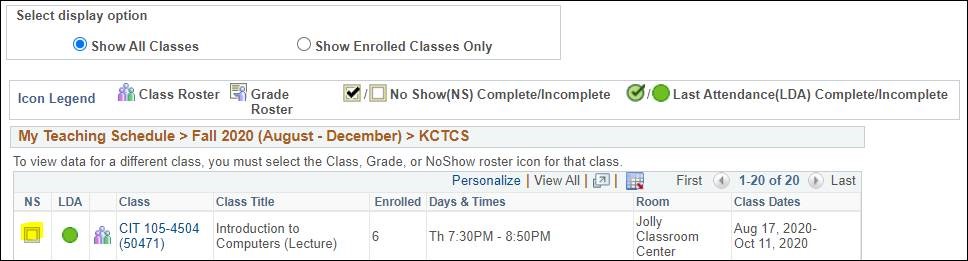
- To record students that have never attended class click on the No Show icon to the
left of the preferred class. This will take you to the No Show page for the selected
class.
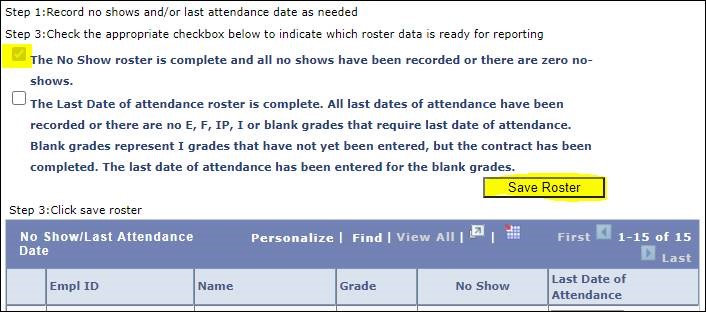
- Review your Roster and click the No Show button for any students that NEVER attended
the class. Once you have entered all of your data (even if you have no students to
report), check the appropriate check box to indicate the roster is ready for reporting:
"The No Shows roster is complete and all no shows have been recorded or there are
zero no-shows” check box when finished recording no shows.
- Click the Save Roster button.
 The data entered will be saved and will gray out. However, any students on the roster
that do not have data entered will remain active for updates later.
The data entered will be saved and will gray out. However, any students on the roster
that do not have data entered will remain active for updates later. - To view a different attendance roster, click the Change Class button to return to
the Faculty Center page and click on the No Show icon for a different class to view
that roster.

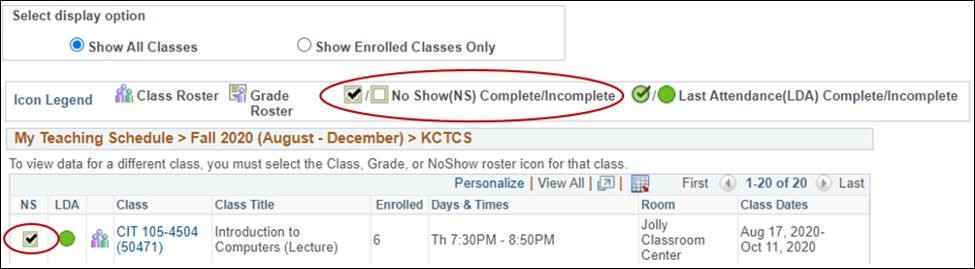
- When you return to the Faculty Center, you will notice that the icon for the class
you reported the no-show for has now changed to a checked box confirming you completed
the no-show for course